I thought it was high time I planted a pot or two here.
I don’t plant much during the spring because the pots I plant in the autumn carry me through, but I can’t resist the chocolate-selection-box delights of the alpine displays in the local garden centres. And they often have tempting multi-buy offers too, ideal for a little landscape-in-a-pot type of planting.

In the alpine house at RHS Wisley
Plants on offer like this aren’t always strictly alpines, but I’m not a purist. I would dearly love to have a dedicated alpine house like the one at Wisley, to fill it with little treasures and to learn about them and their habitats, but that would require a lottery win of some sort.
I love walking in mountains and peering at plants but I have to know my limits. I can learn some of them, but I was a late starter to this horticulture lark – it’s such a vast subject, I’ll never be more than a dabbler in alpines, so for the moment I’m not tackling anything rare or recherché.

In the Pyrenees – no serious botanising for me, unfortunately
Right, back to my actual garden. I treated myself to a couple of glazed pots – I have spent so many years planting terracotta I felt like a change. I liked the greeny blue of the glaze – which is supposedly frostproof. I’m a little sceptical about this claim, but we’ll see. This’ll be a relatively long-term planting so I hope it does survive.
I favoured plants with a blue-ish cast to their foliage, including a little Chamaecyparis thyoides ‘Top Point’, which is a conifer that develops rusty tones during winter. The pot’s glaze has some brownish, rusty tints too. I would have bought a bigger tree for this size pot but they are so much cheaper as young plants. The planting is planned to last for a few years with the possible removal or splitting of some of the plants, so the conifer has time to grow and make the planting look less flat. This conifer takes 10 years to grow to 1m according to the label, so it should be ok for quite a while, assuming I don’t kill it.
The plants I chose have pink, white or blue flowers, with a dash of yellow. This combination sounds a bit odd but they won’t all flower at once, they should perform roughly in this order (with some overlapping):
Armeria maritima ‘Rubrifolia’ . Pink.
Phlox subulata ‘Kimono’. Pink and white.
Pratia pedunculata ‘County Park’. Dark blue.
Erodium reichardii ‘Album’. White with pink veins.
Sedum (unnamed, possibly S, rupestre). Yellow.
These plants all prefer full sun. For the moment the pot is on a low wall which has sun for most of the day, I’ll keep an eye on it and move it along into more or less sun according to how the plants are getting on. I like to have plantings like this raised up so that I can see the details more easily.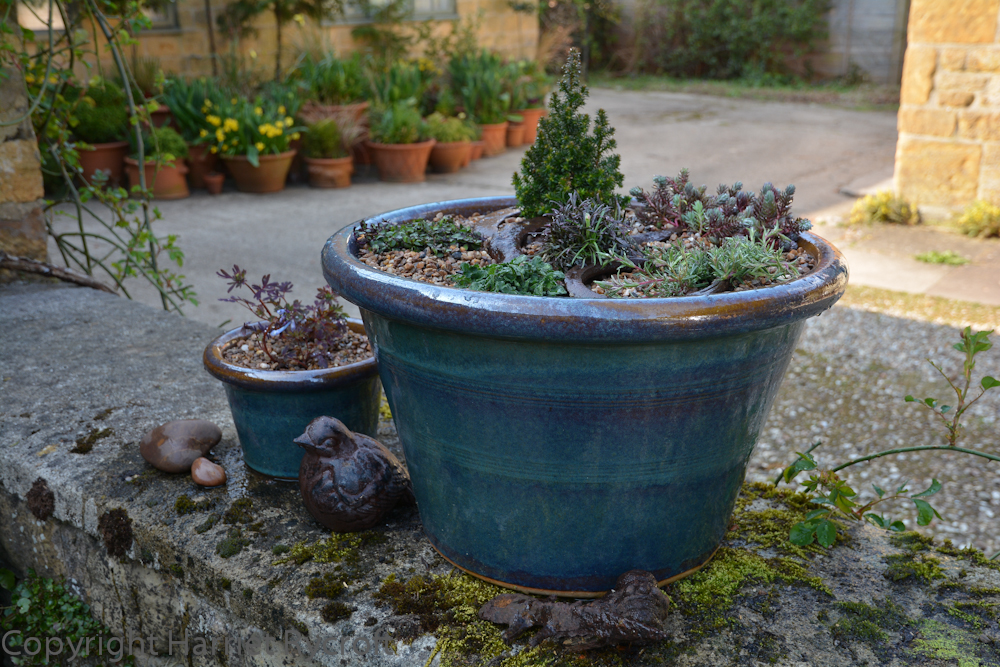
I’m experimenting with different composts at the moment so this pot has a Levington multipurpose compost with John Innes, mixed with an extra dollop of grit, some sandy (sterilised) topsoil and some slow release fertiliser. I’m afraid the Levington isn’t peat free but it does have quite a lot of wood waste in it. The number of uncomposted shards of wood testify to this and give me some cause for concern about the fertility of the compost, but we shall see.
I’ll go through the whole planting process step by step – even though I’m probably teaching some grandmothers to suck eggs:
NB: Water all new plants well at least an hour before planting if possible, so that excess water can drain away. Never plant dry plants, they will struggle to establish.
1. Position pot. Do this first if you possibly can to save your back. No need for pot feet.
2. Cover drainage holes with crocks. No need for a deep layer of crocks.
3. Part fill pot with gritty, open-textured compost to a few inches below the rim. Rock the pot or tap it on the ground to settle the compost in.
4. Position the largest plant first. In this case the conifer. Sink its rootball into the compost so that the top of its rootball is about 2cm/1 inch below the rim of the pot.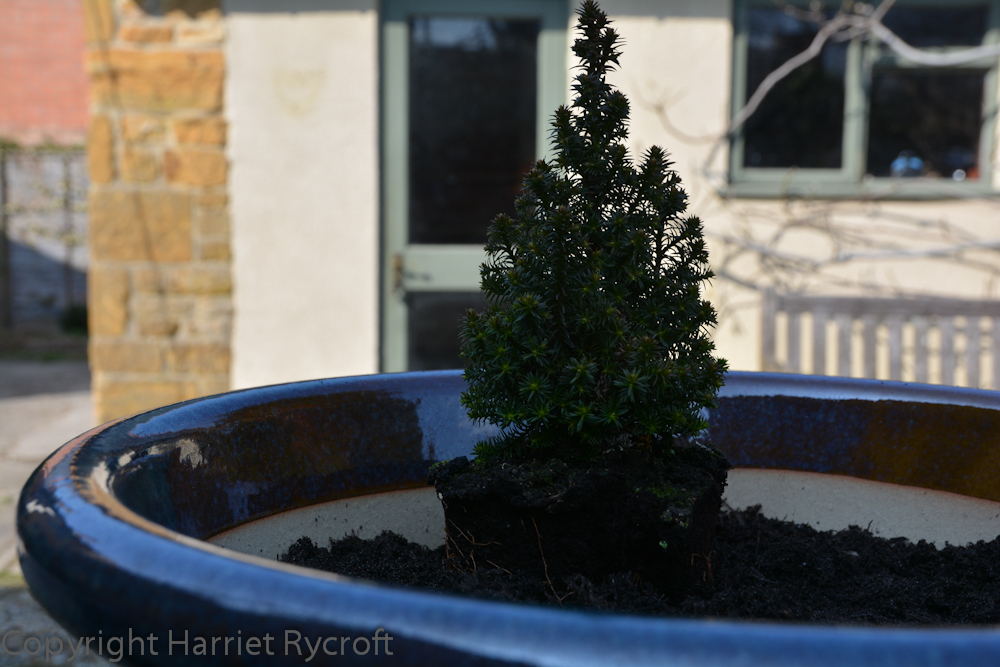
5. Add some more compost, tap the pot on the ground again.
6. Position the remaining plants, stand back and have a look at them; think about what they will do next – will they form a neat mound like the Armeria or will they sprawl and trail? This is why I put the Phlox, Sedum and Pratia relatively close to the edge so that they soon start to cascade out of the pot. Look at the ultimate spread of the plants on the labels and keep that in mind – but in a pot you can put plants closer together than you would in the ground so that the pot fills more quickly. Just bear in mind that you may have to move or divide some at a later date.
At this point you also need to think about where you are going to position any props – I wanted to add some rusty horseshoes found in the garden (there used to be a stables and a farrier here).
Then sink the plants into the compost, taking care to keep the top of all of their rootballs at the same level as the top of the conifer’s.
7. Fill in with compost between the plants, making sure to leave no gaps (especially under the foliage of the ones near the edge), tapping or rocking the pot to settle the compost rather than squashing it down with your hands.
8. Fill the compost to just fractionally above the tops of the rootballs, add your props, then water well, with a rose on your watering can, to settle the compost in.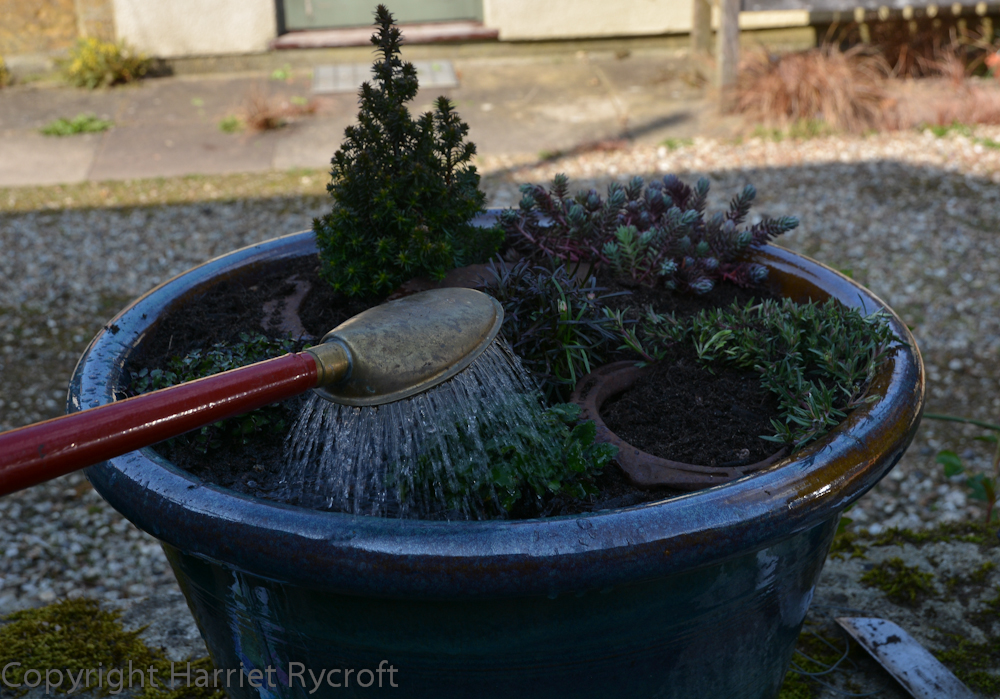
9. Check to see how much the compost has settled. Are all the rootballs covered right to the top? If there are any gaps (check under foliage and at the edges of the pot especially) top up with compost and re-water. You mustn’t be able to see any roots, but don’t cover the tops of the rootballs too deeply, especially that of the conifer. A couple of millimetres/quarter of an inch at the most.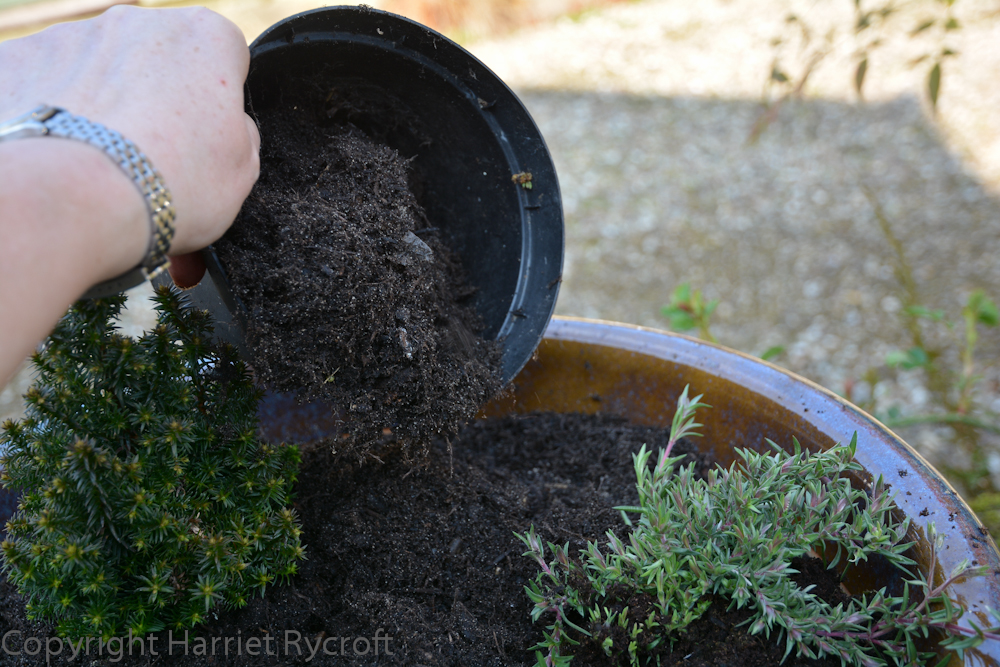
10. Once you are satisfied with your compost levels add about 1cm/half an inch of alpine grit all over the compost, including the surfaces of the rootballs. You may have to adjust your horseshoes (or whatever) so that they don’t get completely buried.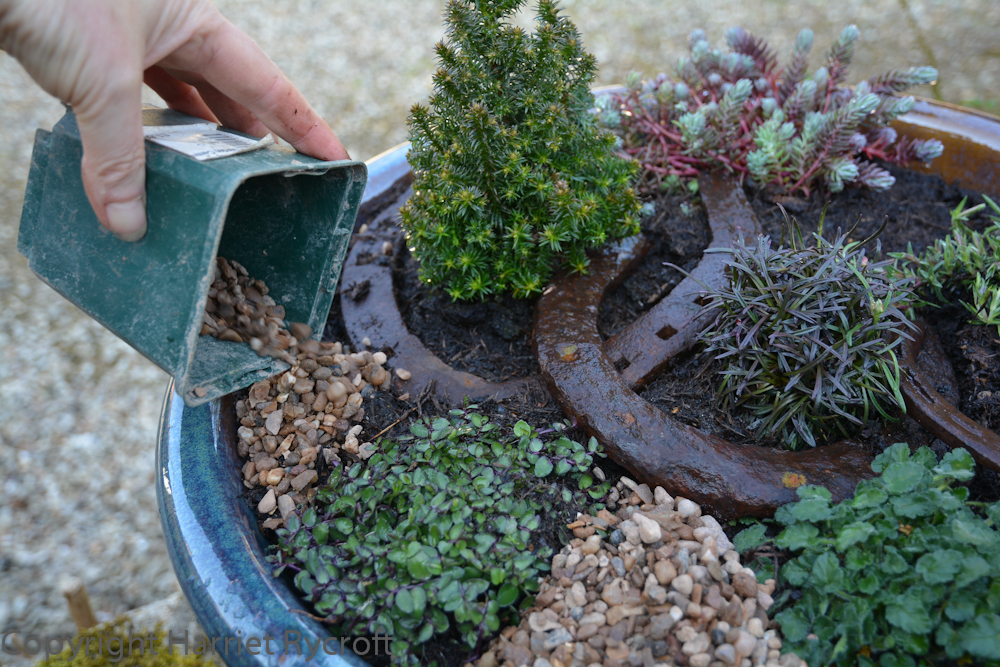
Gently tease out any shoots or stems which have been buried by the grit. Water lightly to clean the grit and foliage of any mud or dust. The grit will help to keep drainage sharp around the necks of the plants while allowing water to permeate easily into the compost. It also deters slugs and, to a certain extent, vine weevils. And it looks much better than bare compost.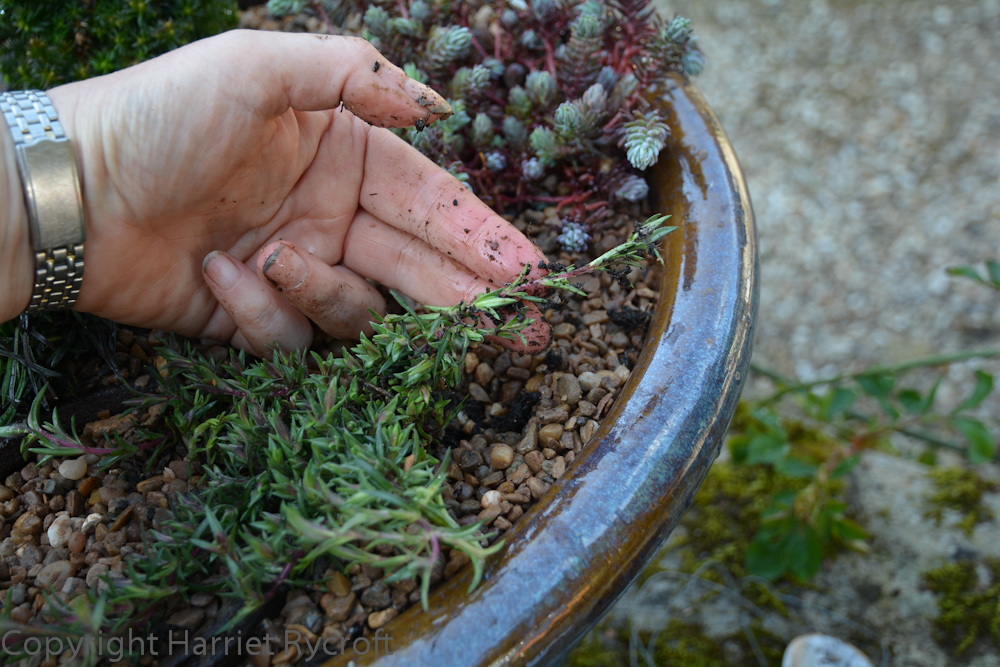
11. Tuck all the labels into the edge of the pot, where they can’t be seen but can be found.
At this stage I decided that I needed something else near the conifer, so I pulled a few rosettes of Sempervivum out of a wall and poked them in, they’ll soon take root.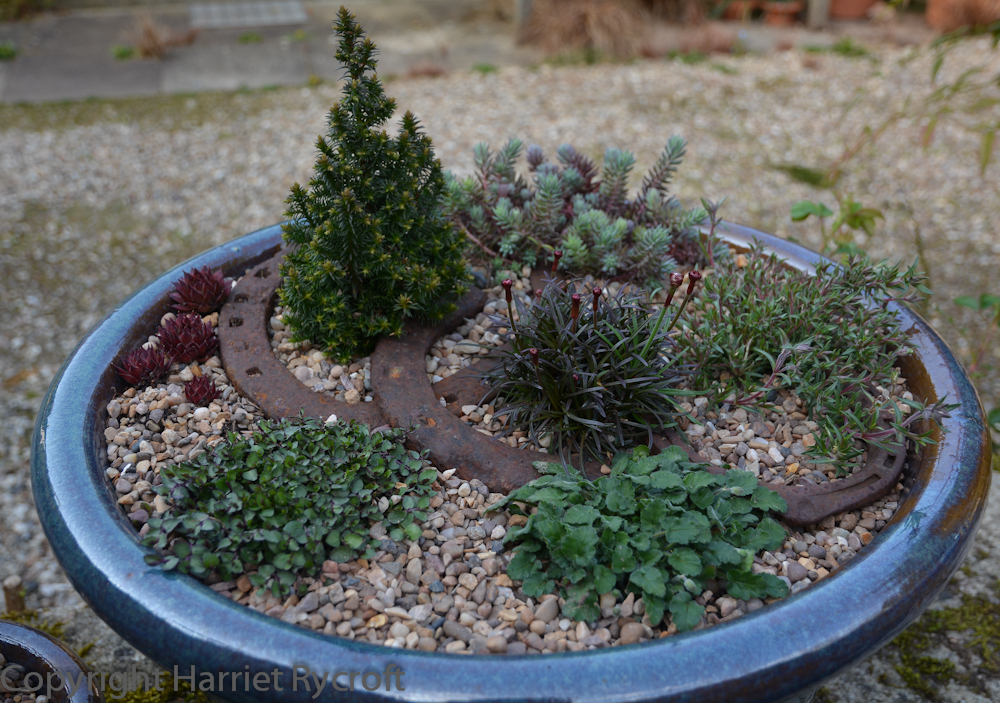
 I also planted a smaller matching pot with Corydalis flexuosa ‘Purple Leaf’, it’s one of my favourite plants and I love its colours with this glaze. But it prefers shadier conditions than the other plants thrive in, so for the moment it is on the shady side of the big pot, if the weather starts to get too hot for it I shall move it to a cooler position.
I’ll post a few photos as the planting develops. Now I must get back to pricking out seedlings ready for the big summer changeover…


Great post!!!
LikeLike
Thanks!
LikeLike